
This post may contain affiliate links. Please see our disclosure for more information.
Fresh homemade yogurt is one of the best foods on the planet to support digestion and gut health, according to the ancient wisdom of Ayurveda.
Homemade yogurt is highly Sattvic, or balancing, compared to store-bought yogurt, which is Rajasic, or heating.
Regular consumption of probiotic homemade yogurt is one of the top ways to increase your good gut bacteria naturally, while supporting immunity, digestion, and assimilation.
In Ayurveda, homemade yogurt is favored over the many expensive probiotics manufactured in labs, which can be too intense or difficult for the human body to assimilate.
Your gut microbiome is the source of 70-80 percent of your immune system, and all that immune support comes from the interaction of good gut bacteria.
Why homemade yogurt?
On an energetic level, homemade yogurt is far more supportive for gut health than store-bought.
In fact, the best, most potent, and sweetest yogurt, is consumed within the first two days of making it.
After about 2 days, the yogurt begins to sour, and after about 5 days it is quite sour. Older yogurt can even disturb your gut bacteria, because dairy that’s too sour and fermented spoils the blood with heat and toxicity.
Another issue is that store-bought yogurt might not be what you think it is.
According to studies (including by The Council of Maharishi Ayurveda Physicians), most store-bought yogurt that contains active cultures are actually very, very low in probiotics – if they contain any at all.
Surprised? I know!
One reason for the low beneficial bacteria count is the fact that the potency of the probiotic diminishes over time. Just think about the logistics of manufacturing and selling yogurt. It suggests that most of the yogurt available to buy is weeks old already.
I would also consider that the purpose of the yogurt company isn’t necessarily to provide a probiotic. It may just be interested in selling a tasty product with a pleasing texture that customers like.
It’s possible you can find a good company that pays attention to their probiotics, but I would do some research to find out first.
Or, you can just make your own. Once you get the hang of it, making homemade yogurt isn’t much trouble at all.
Homemade yogurt is a mainstay in most South Indian households, where fresh yogurt (which they call curd) is made and enjoyed daily.
Do these people know something that we don’t? How about giving it a try and seeing how it can improve your gut health?
Tips for successful incubation
Maintaining an even temperature during incubation is very important. This suggests that it is risky to make yogurt unless you are sure that you have a stable heat source for successful incubation.
I suggest doing some investigation and temperature testing before getting started to avoid disappointment with your results.
You need between 85 and 110 degrees F, which is warmer than most homes get, even in the heat of the summer. However, the summer heat is one possible source of incubation. Keep the yogurt out of direct sunlight to avoid overheating.
Another good source is the Instant Pot, or other similar multifunction device. The Instant Pot actually has a yogurt setting that allows you to maintain the required even temperature.
If you are lucky, you may have a bread proofer. Bread requires similar temperature. So whatever worked for your bread may work for yogurt.
Another option to look into is a slow cooker. Could you put some warm water in the cooker, and place a glass or stainless steel container holding the yogurt in the cooker? Maybe do an experiment with a thermometer to check.
I am not sure if an oven with a pilot light is hot enough. I would test the temperature first. You could also try the top of a warm fridge. Wrap the container in a large clean dish towel to help keep it warm.
How to make yogurt in an Instant Pot
I recommend doing everything on the stove with the thermometer until step 6 when it’s time to incubate. Use the yogurt setting on your Instant Pot to incubate.
Transfer the inoculated milk directly into the IP’s stainless steel container, or I prefer storing the milk in a smaller container that you set inside the IP’s container.
You will need to experiment with time and temperature. The temperature for incubation is between 85 and 110 degrees F. You could start on the low side, the high side, or somewhere in the middle. If you don’t have the ability to set a specific temperature, choose “Normal.”
In terms of time, you could start on the low end with 5 hours, then check if the yogurt is set. (There is no pressure in the pot, so you can directly open the lid.)
The yogurt is ready when it is thick and firm, with a custard-like appearance that separates from the edge of the container. If it’s not ready yet, check every 30 minutes. (If it’s really not ready, you can set it for an hour.)
I was reading online, and people were recommending much longer incubation times for the IP – up to 12 hours. Interestingly, it was said that longer incubation makes the yogurt more sour (or tart)!
For us, we want a minimal amount of time for sweet yogurt that is well set. Pay attention to the sweetness or “tartness” of your finished yogurt.
Be sure to take note of your temperature, time, and other steps so that you can find your own perfect recipe and replicate it.
Ayurvedic properties of yogurt
According to Dr. Marianne Teitelbaum, dairy is very cold in nature, which has the tendency to form toxins known as ama in the body. Ama is a form of partially digested food, which is congesting.
Thus, you want to be aware of this cold quality and protect against it when consuming yogurt for its gut health benefits.
Dr. Teitelbaum points out that the process of heating milk (while making yogurt) reduces the cold quality.
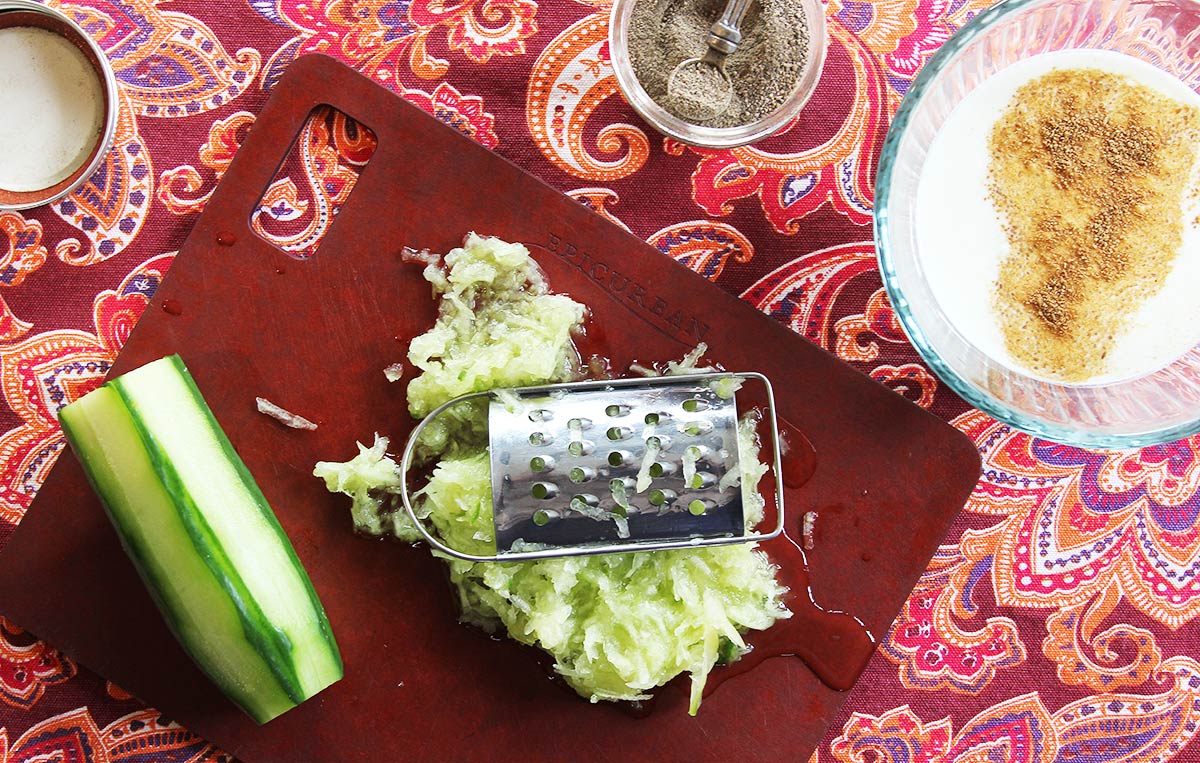
To add even more digestive support, consider adding a cinnamon stick or a few slices of fresh ginger while heating the milk. This will add only a mild flavor to the yogurt.
5 digestible ways to enjoy yogurt
- Enjoy a small amount of plain yogurt with lunch, when your digestion is the strongest. Enjoyed in this way the yogurt acts as a digestive.
- Turn it into Ayurvedic buttermilk (1/4 yogurt with 3/4 cup water – blend for 1 minute, then skim off fat.) > Get My Recipe for Probiotic Buttermilk
- Wrap the yogurt in cheesecloth and let it drip into a bowl. Enjoy the juice as a probiotic. Depending on how long you leave it dripping, the thickened yogurt will be similar to labneh, which is sometimes described as Lebanese cream cheese.
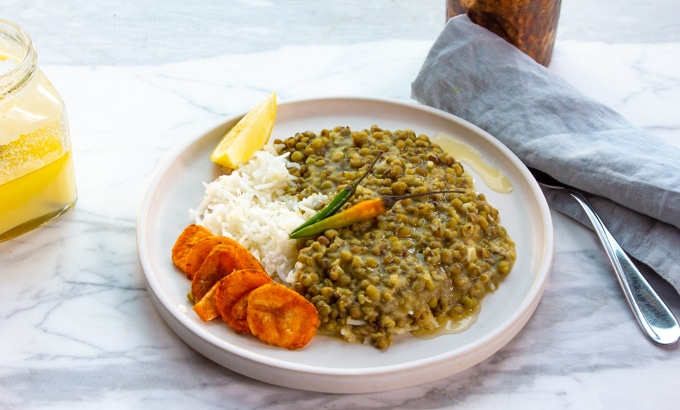
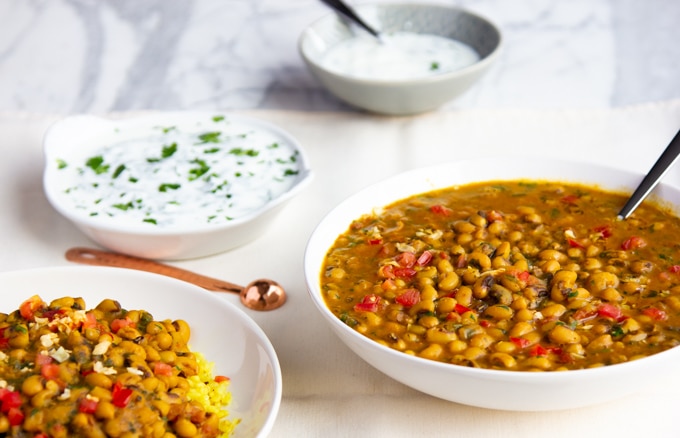
- Stir the yogurt into dal and khichari to tone down the spices and add vegetarian protein.
- Eat plain with honey and nutmeg.
Ayurvedic yogurt avoidances
Ayurveda has some very particular recommendations about food combinations and yogurts. It is never recommended to:
• Eat yogurt with bananas
• Combine yogurt with fish, spinach, or fresh fruit
Recommended recipes using yogurt


How to Make Homemade Yogurt

Recipe for Homemade Yogurt
Equipment
Ingredients
- 4 cups whole milk (grass-fed and non-homogenized)
- 1/4 cup plain yogurt or yogurt starter (see notes)
Instructions
- You will need a thermometer that measures temperatures between 110-190 degrees Fahrenheit.
STEP 1 – Source quality milk
- Yogurt is made from milk, so you want to start with good quality whole milk. In Ayurveda we recommend that you consume non-homogenized, grass-fed and/or organic, whole milk. Regular pasteurization is okay. You may have to seek out the milk from a local dairy. Specialty grocers will likely carry it.
STEP 2 – Source good quality yogurt starter
- Your yogurt starter will determine the strength, species, and potency of your yogurt. Do some research and purchase one from a brand you can trust. Two Ayurvedic experts, I trust recommend Natren starter. Ultimately, the result and flavor of your homemade yogurt will be determined by the quality of the starter. After using the starter successfully once, you can use some of the leftover yogurt to seed your next batch. Do this for about 2 months, then use the yogurt starter again to maintain maximum potency.
STEP 3 – Gently heat the milk to 180-190 degrees F
- Gently heat the milk to 180-190 degrees F and keep it at that temperature for 10-15 minutes. The longer time frame will promote sweeter, thicker, and creamier yogurt.
STEP 4 – Seed the yogurt starter
- Set aside 1/2 cup of milk in a bowl and let it cool to room temperature. Whisk in your yogurt starter or yogurt from the previous batch. When using a yogurt starter, follow the instructions on the package. Make sure that you mix the starter well to avoid lumpy yogurt. Meanwhile, allow the rest of the milk to cool to 115 degrees F.
STEP 5 – Mix the starter into the remaining 115 degrees F milk
- Mix the starter into the 115 degrees F milk.
STEP 6 – Incubate between 85 and 110 degrees
- Store the yogurt culture in a nonreactive container, such as glass, stainless steel, or a traditional clay vessel. Incubate the yogurt at a temperature between 85 and 110 degrees F for 5-6 hours. The Instant Pot works perfectly for this. Simply add 2 cups of water to the inner pot and set the covered, nonreactive container of immature yogurt into it. Cover with the lid, and select the YOGURT setting. The yogurt is ready when it is thick and firm, with a custard-like appearance that separates from the edge of the container. If it’s not ready yet when you check it, check every 30 minutes
STEP 7 – Refrigerate finished yogurt
- Refrigerate finished yogurt for several hours to preserve its sweetness and firm it up. You may notice some liquid releases out of it. This is whey, and you can either combine it with the yogurt by mixing, or pour it off and enjoy it separately as a potent probiotic.